How do I upload a feedback file in an assignment activity?
Right now, there is no way in our current installation of Moodle to edit Word documents through Moodle. You will need to download them to your own computer, make the changes, and then upload them as a feedback file for your students through the assignment activity.
The first thing to do is verify that your assignment activity has “Feedback files” as an allowed “Feedback type.” To do this:
- Login to Moodle and click on your course.
- From the main page of your course, scroll down to the assignment activity in question. Click on the assignment activity.
- Then from the main page of the assignment activity, click on the gray ‘edit’ gear wheel in the upper right corner of the main section.
- From the drop-down menu that appears, click on the “Edit settings” option.
- Scroll down to the “Feedback types” section. Click on it to expand the section.
- Make sure that “Feedback files” is checked.
- Scroll down and click the “Save and display” button.
Once you have “Feedback files” enabled, follow these steps to provide a feedback file to your students:
- Then from the main page of the assignment activity, click on the “View all submissions” link at the bottom of the page.
- Click on the student’s file submission to download the file to your computer.
- Open the document.
- Track your changes.
- Save the document to your own computer in location where you can easily find it, and with a name that easily identifies it (e.g., Paper2_FEEDBACK_StudentLastName-StudentFirstName.docx, StudentLastName-Paper2_FEEDBACK, etc.).
- Close the document and go back to Moodle.
- Click on the “Grade” button for the student you are ready to grade.
- On the grading page, enter the grade and feedback comments (if enabled and if you want to).
- Scroll down to the “Feedback files” section. Either drag-and-drop the appropriate file into the box or walk through the following process to upload the file.
- Click on the piece of paper with a plus sign in the upper left corner of the box.
- Make sure you are in the “Upload a file” section (usually the default).
- Then click on the “Choose file” button.
- Navigate to where the feedback file is saved on your desktop. Click on it and then click the “Open” button.
- You will see the file listed next to the “Choose file” button now.
- Scroll and click the “Upload this file” button at the bottom.
- You should now see the file in the “Feedback files” box.
- If you are working through the students, you may wish to uncheck “Notify students” so that you can simply tell everyone when all the assignments are grades. Otherwise, you can leave it checked and the student will receive an email saying that their assignment has been graded.
- Click the “Save changes” button.
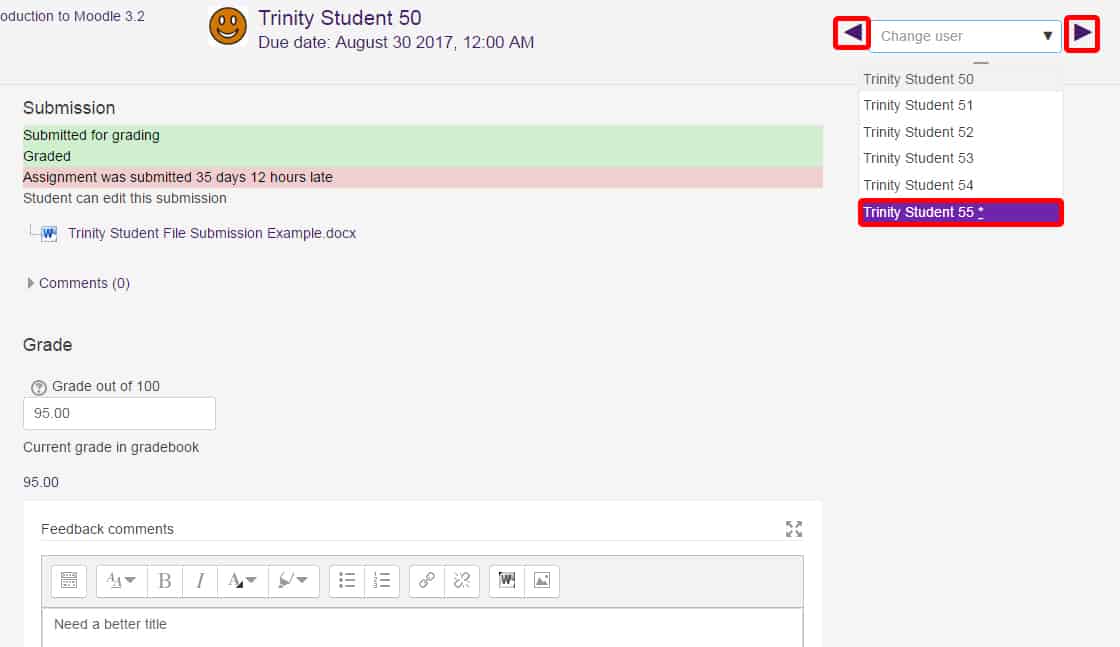
- Once the page reloads, you can navigate to another student by using the arrows in the upper right or by selecting the student from the drop-down menu. Students with an * next to their names have submitted a file, such as Trinity Student 55:
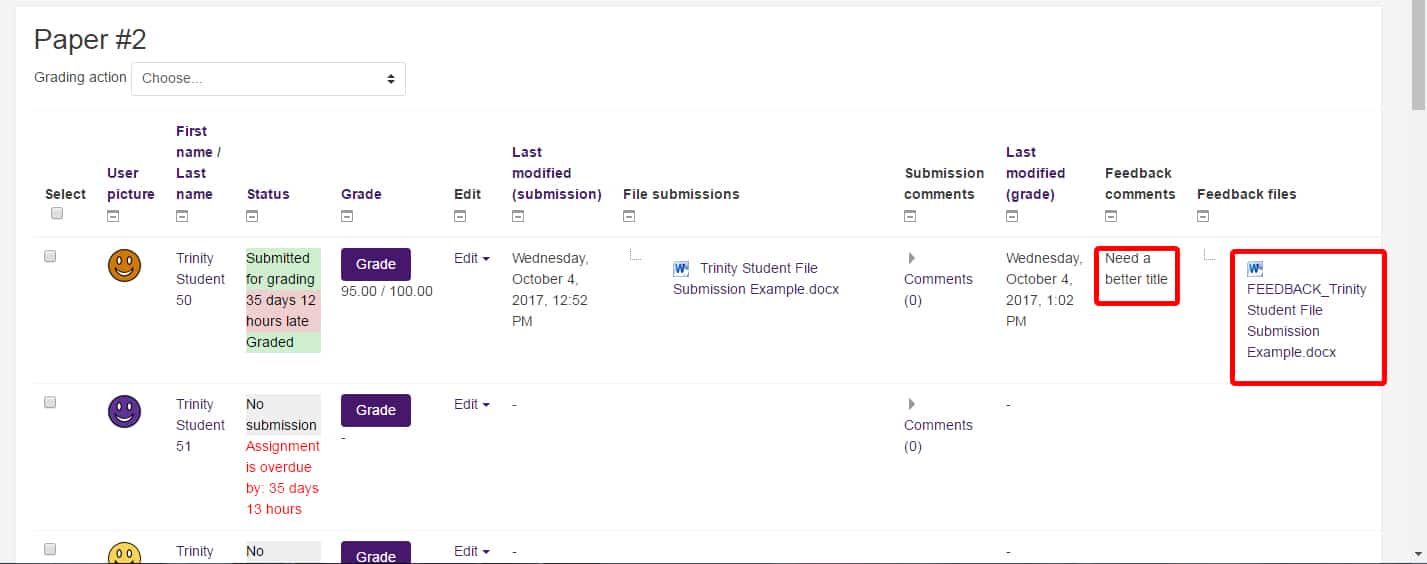
- You can also click on the name of the assignment in the upper left corner to go back to the assignment’s main page. When you click on “View all submissions” again, you’ll see that your feedback file and comments are now present:
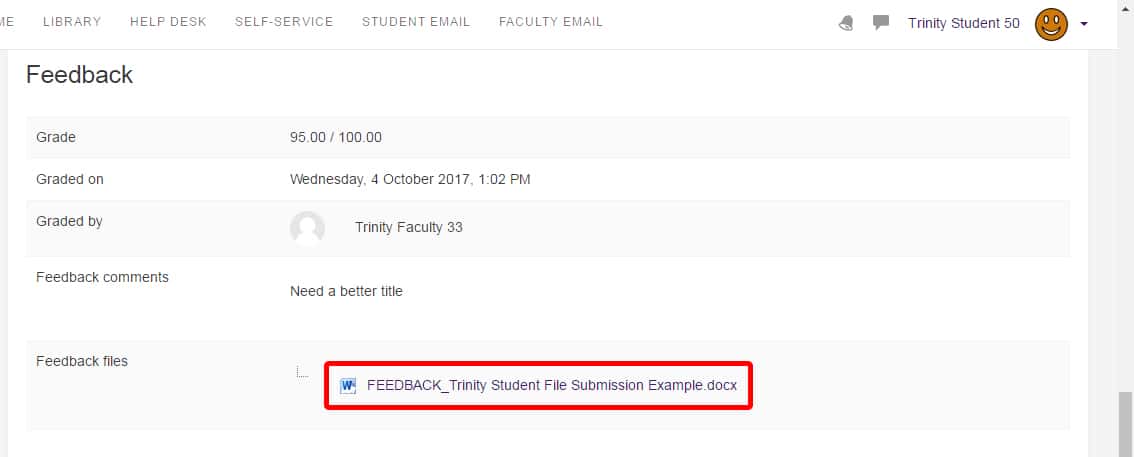
The student would view your feedback file by clicking on the assignment on the main page of the course and then scrolling down to the feedback section: